Introduction to Paint Correction
Paint correction sounds fancy, but it’s really just a deep polish for your car to get rid of scratches, swirls, and other imperfections that mess with its shine. Think of it as a makeover for your car’s paint job. This process doesn’t just wash the surface dirt away; it goes deeper, removing a tiny layer of paint to make the surface look as good as new. Paint correction is a skilled task. It requires the right tools, products, and a lot of patience. Different cars and paint jobs need different levels of correction. So, it’s not a one-size-fits-all deal. The aim is simple though – to make your car’s paintwork look flawless, removing all the blemishes that have built up over time. Whether it’s from dirt, sun exposure, or just general wear and tear, paint correction can bring back the shine. It’s not a quick job, but the results are worth it.
What is Paint Correction?
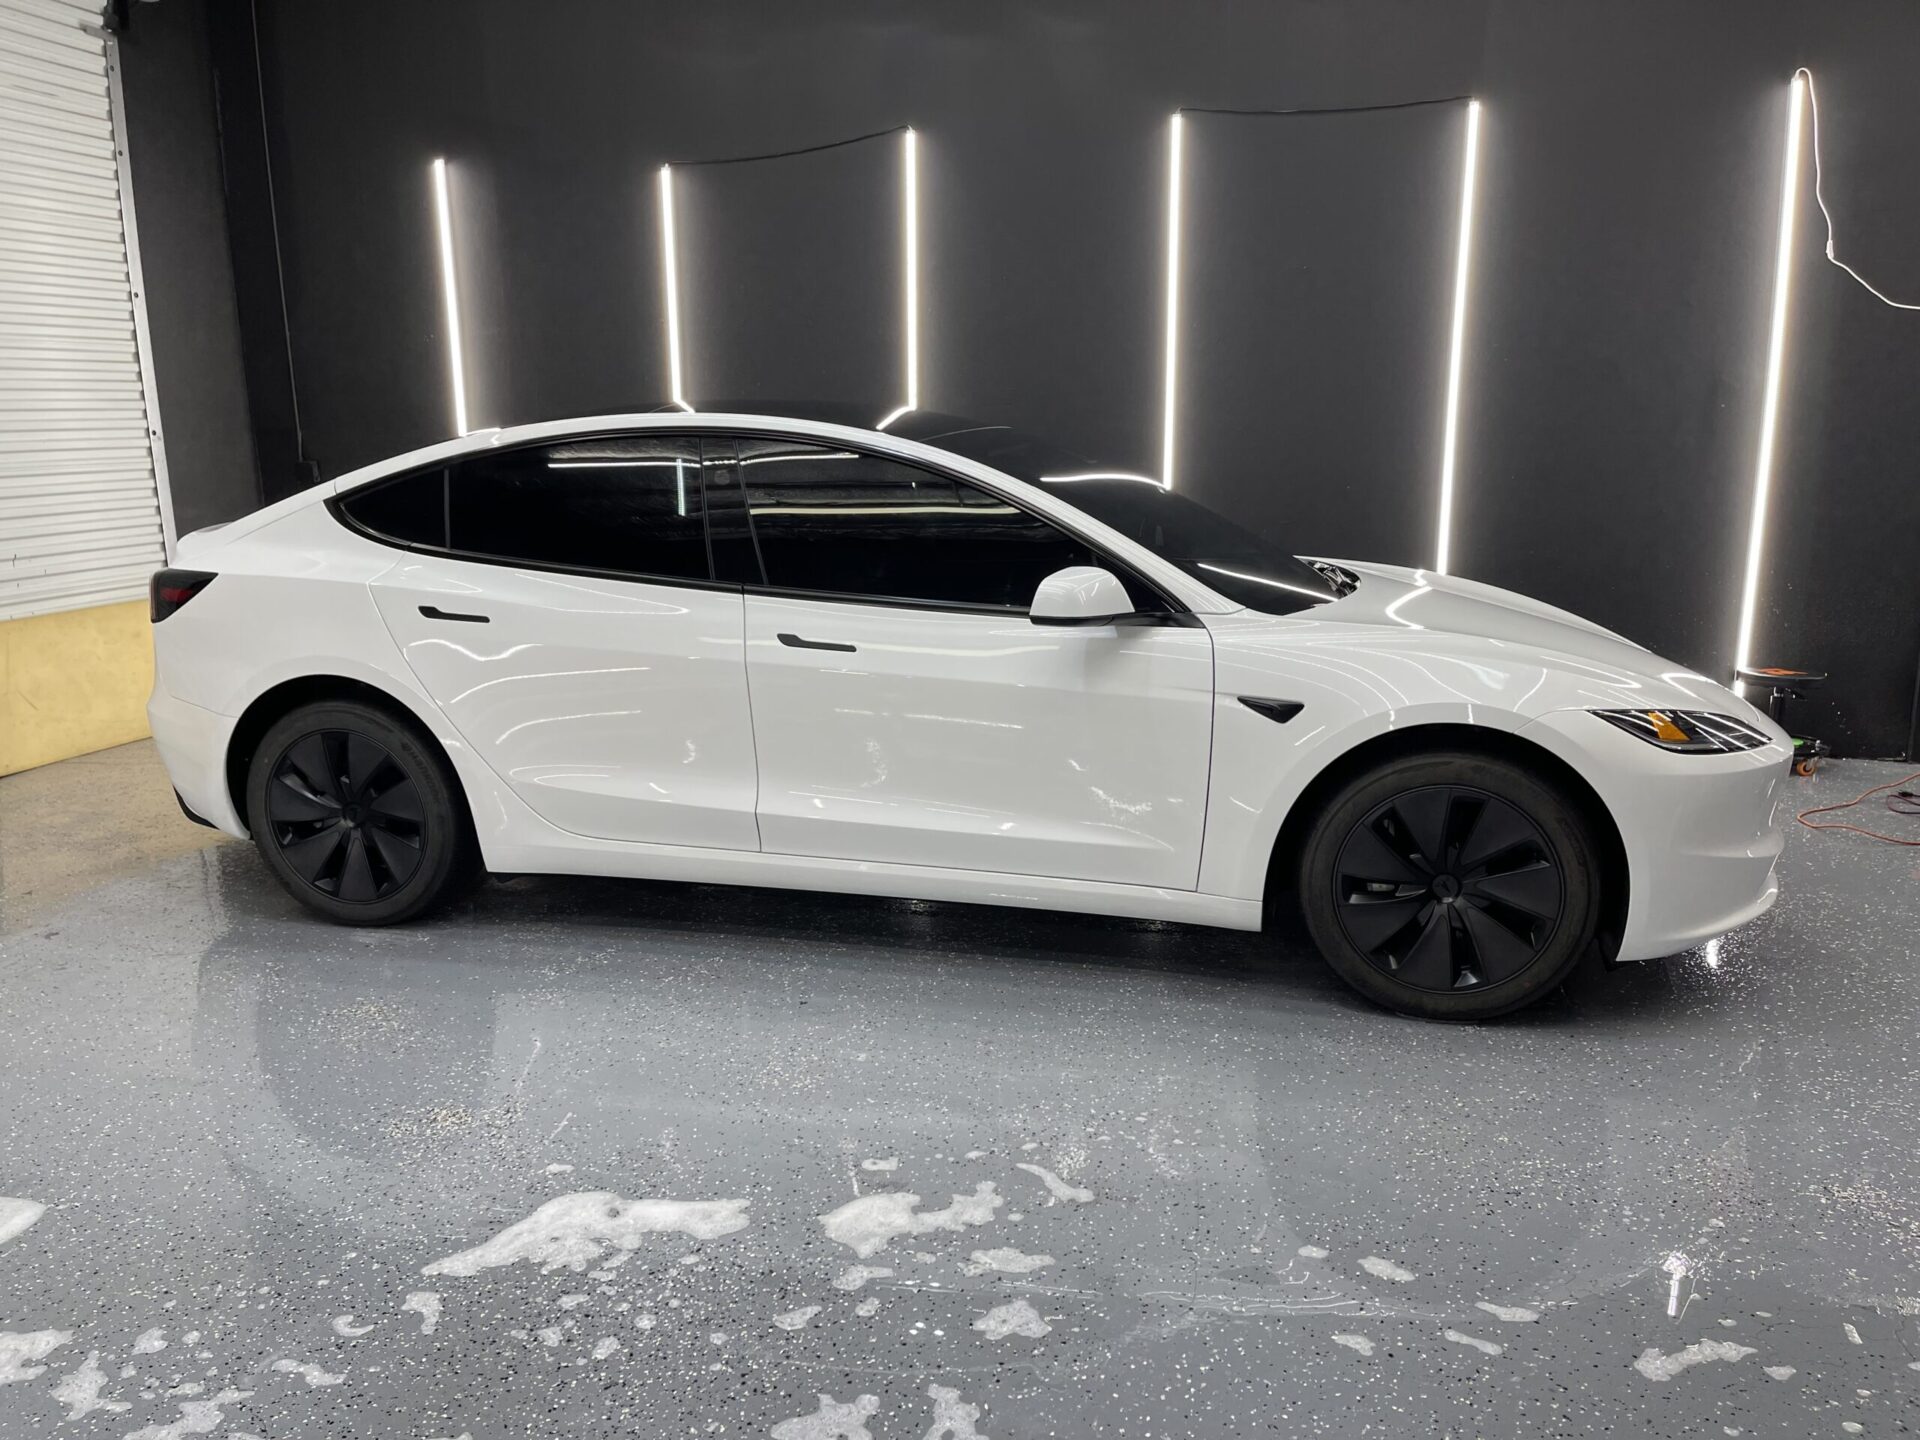
Paint correction is a detailed process that takes your car’s finish from looking good to flawless. Think of it as a facelift for your car’s paint. Over time, your vehicle picks up scratches, swirl marks, and various imperfections from things like improper washing techniques, exposure to elements, and just daily use. Paint correction steps in to tackle these issues head on. It involves using specialized machines and compounds to carefully remove a tiny layer of your car’s paint. This process gets rid of the imperfections and leaves your paint looking shiny and new. It’s not a quick fix but a precise and skilled procedure aimed at restoring your vehicle’s paint to its original, or often better, condition. So, if you’re aiming for a mirror-like finish on your car, paint correction is the way to go. Remember, it’s all about precision and perfection.
Common Problems Addressed by Paint Correction
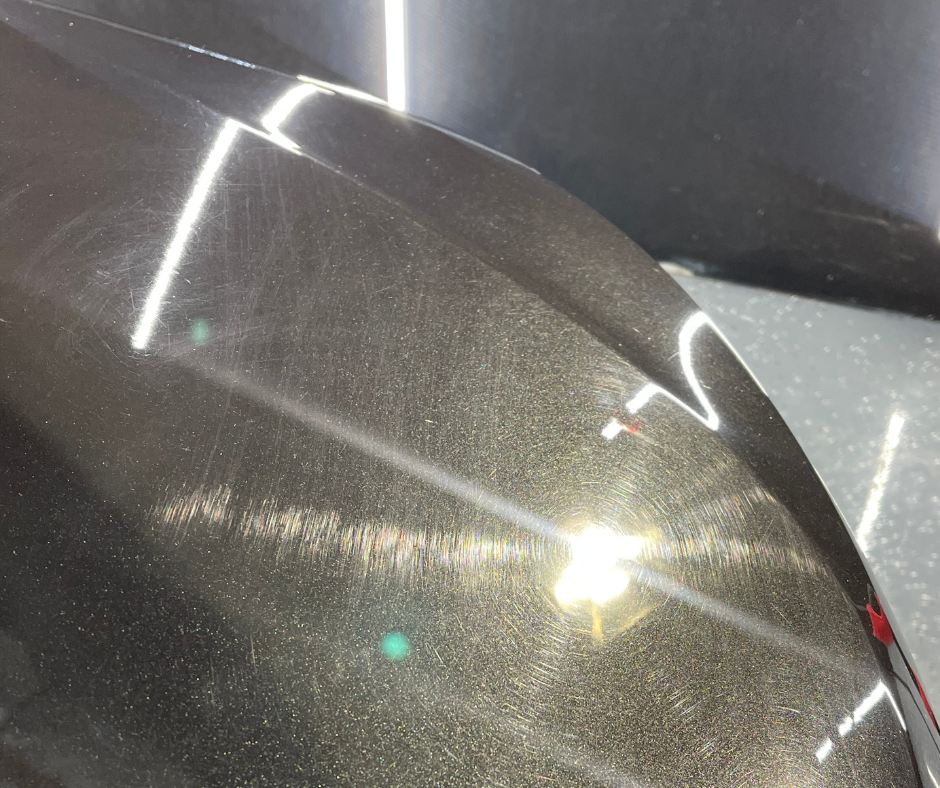
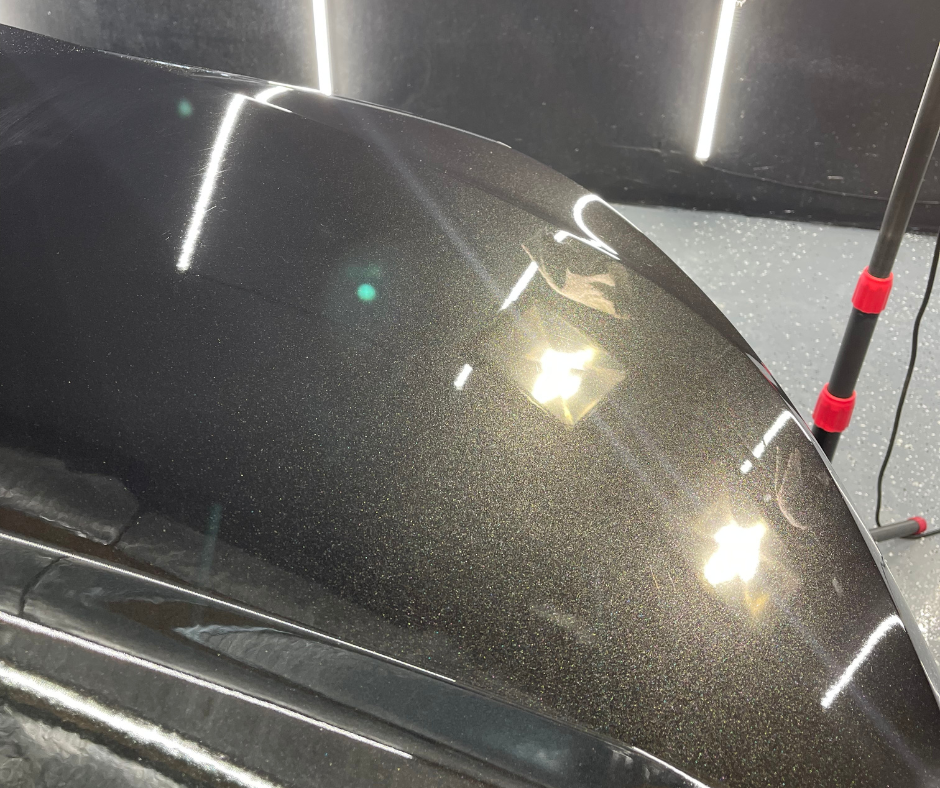
Paint correction fixes issues that make your car’s paint look dull or damaged. Here’s what it typically tackles: Swirl marks that show up as tiny scratches, often from washing your car the wrong way. These make your car’s finish look uneven. Then there are etchings caused by bird droppings or acid rain. These leave marks that eat into the paint. Fading happens when the sun’s UV rays beat down on your car, making the color look washed out over time. Also, oxidation, where your paint starts to look chalky or dull because it’s breaking down at the surface, usually due to neglect or not enough protection. Paint correction takes these problems head-on, making your car shine like new.
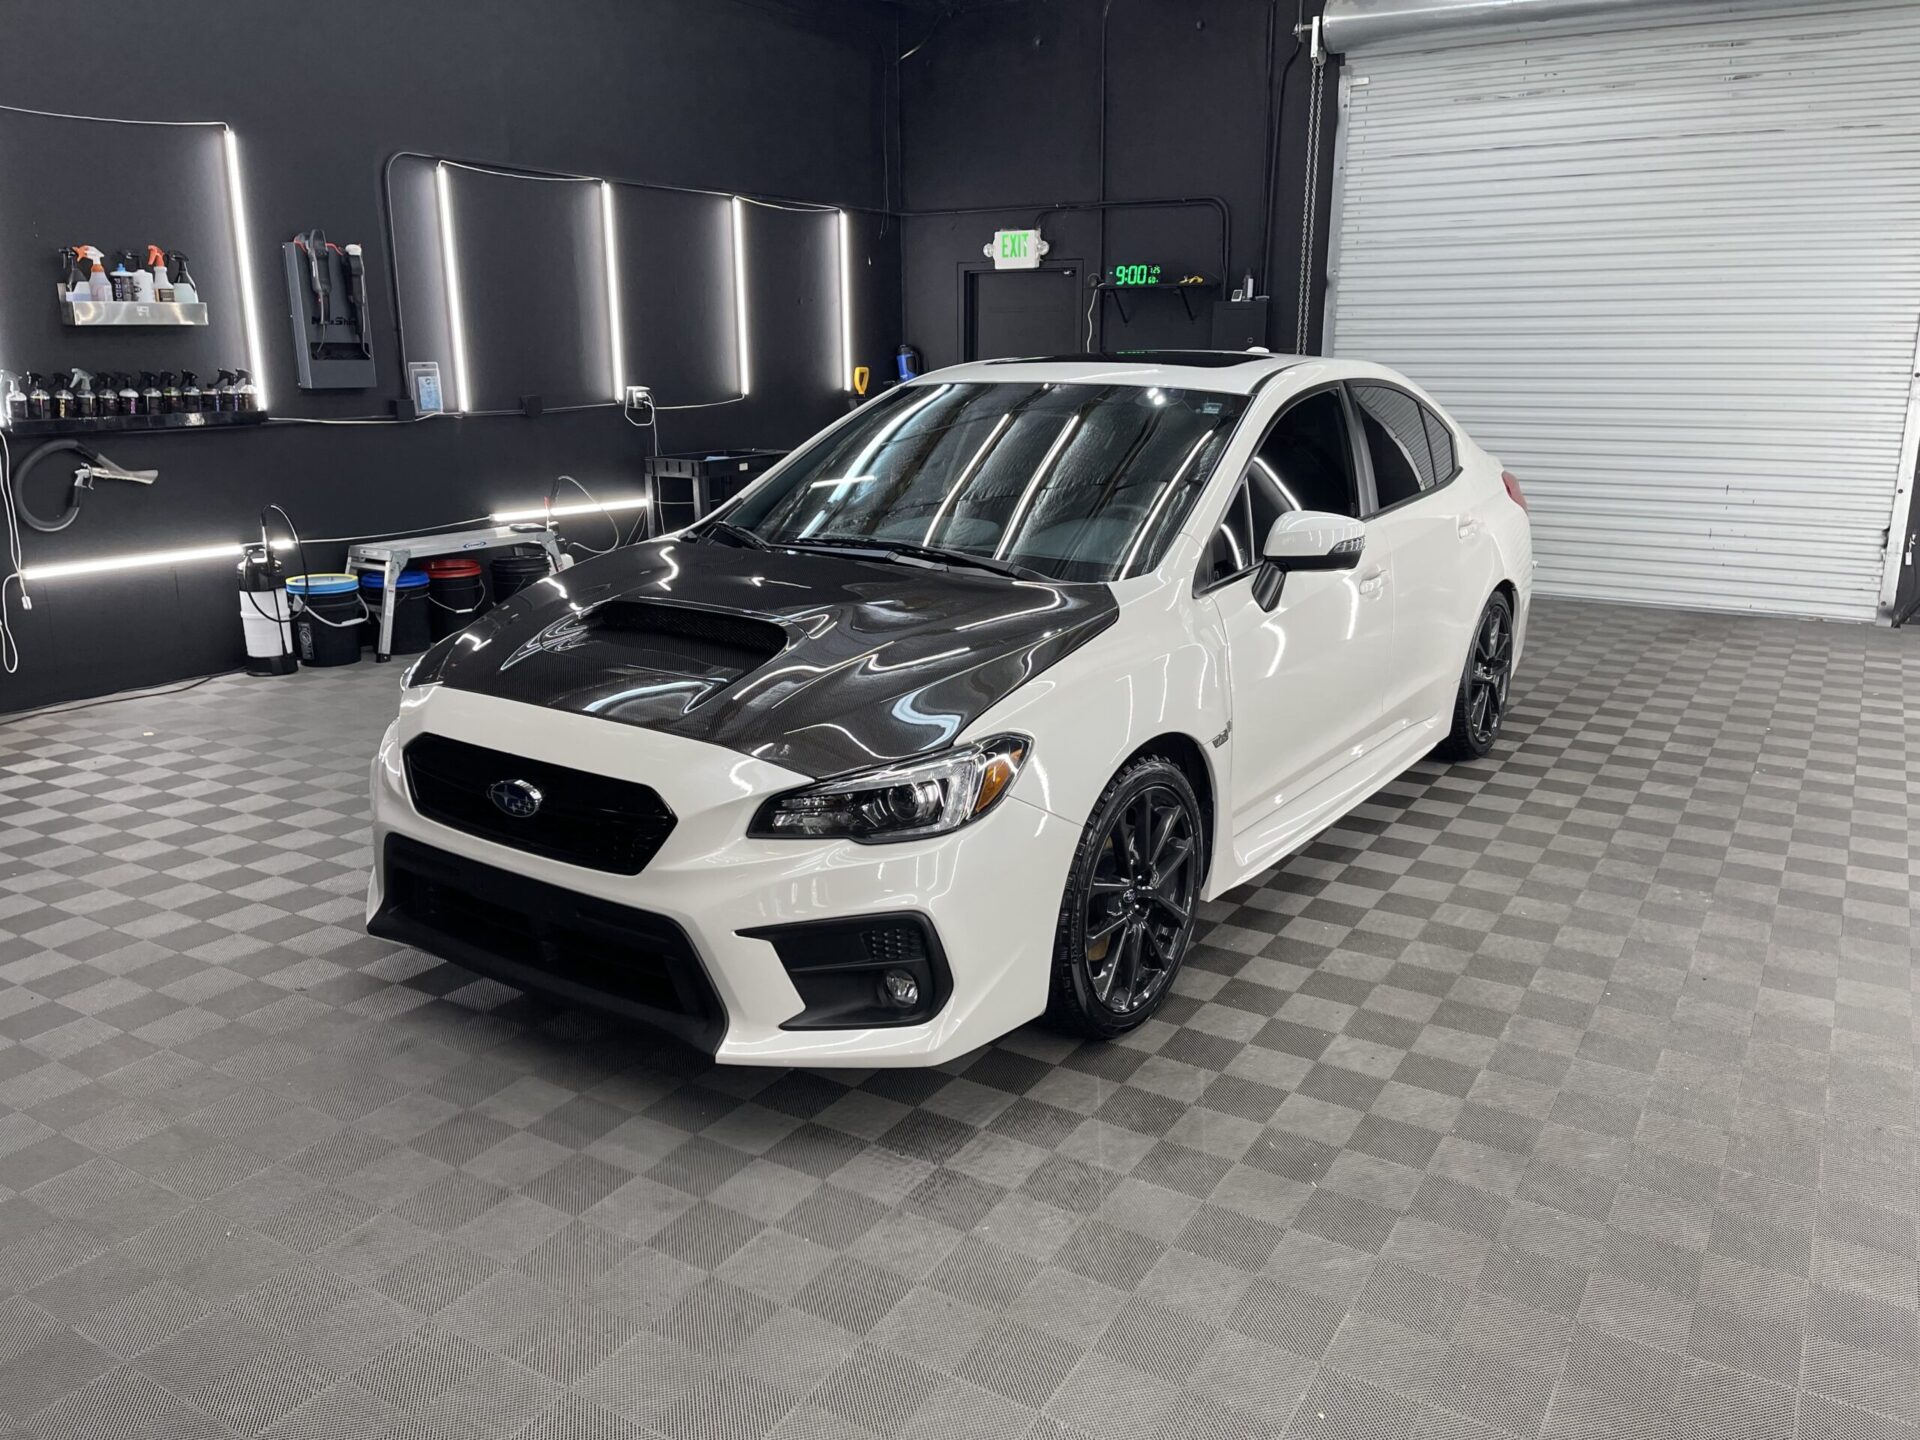
Evaluating Your Car’s Paint: Do You Need Paint Correction?
Before diving into paint correction, let’s see if your car really needs it. Start by checking your car’s paint under good lighting. Look for scratches, swirl marks, water spots, and faded areas. These flaws tell you your car’s paint has taken a beating from elements like sun, dirt, and water. If these marks bug you every time you look at your car, paint correction can help. It’s not just about making your car look good for the gram. It’s about preserving the paint, and in turn, your car’s value. However, if your car has deep scratches that go beyond the surface, understand that paint correction might not be a fix-all solution. It’s perfect for surface imperfections but won’t solve deeper damage. So, assess your car’s needs. If it’s about enhancing appearance and removing superficial blemishes, paint correction is your friend. But if your car’s paint issues are deeper than what meets the eye, you might need more than just a touch-up.
The Paint Correction Process: A Step-by-Step Guide
Paint correction is like giving your car a deep spa treatment but for its coat. It’s about removing those pesky scratches, swirl marks, and imperfections that dull its shine. Think of it as erasing blemishes to bring out the car’s real color and gloss. Here’s a breakdown of how it’s done.
First, the car undergoes a thorough wash. Think of this as prepping the canvas. It’s about getting rid of dirt, dust, and grime so that they won’t interfere with the correction process.
Next up, the detailer dries your car completely. Any water left can mess up the next steps, so it needs to be bone dry.
Then comes the clay bar treatment. This step pulls out impurities stuck in the paint, things washing can’t get rid of, like tar and sap. It makes the paint smooth and ready for the actual correction process.
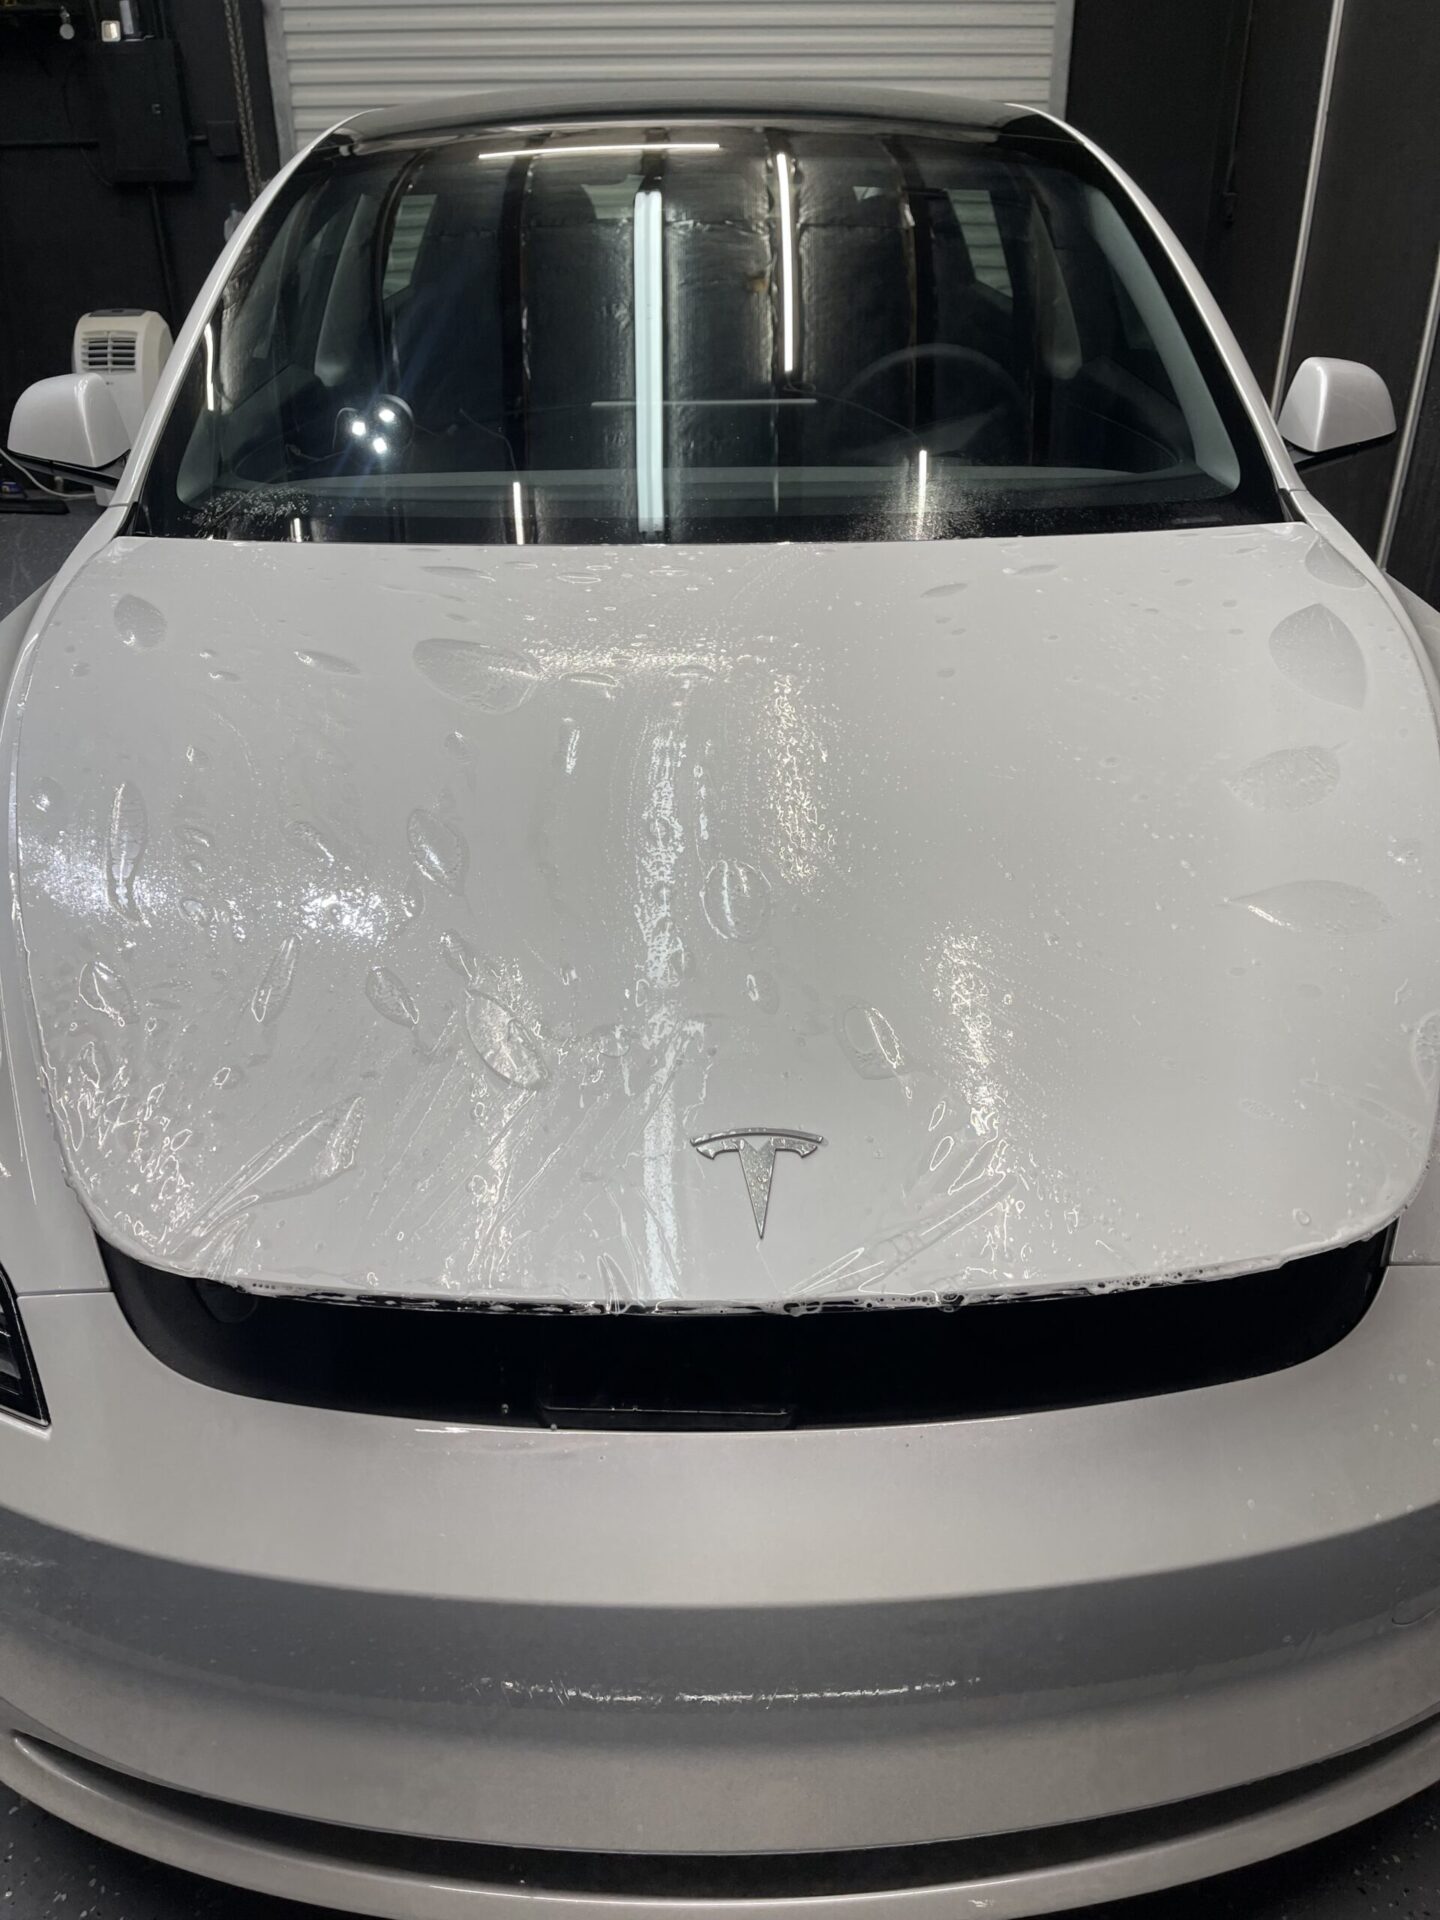
Now, we’re at the heart of it – polishing. This uses a machine polisher and various grades of polish to gently work away the imperfections. It’s an art and a science, requiring a keen eye and a steady hand. The detailer might go over the car multiple times, with finer grades of polish to achieve that perfect finish.
Finally, the car gets a sealant or wax. This isn’t just for looks; it protects the paint, locking in the shine and warding off future blemishes.
Each car and its paint condition are unique, so the steps might vary. But, at the end, your car’s paint isn’t just corrected; it’s transformed.
Tools and Techniques Used in Paint Correction
In paint correction, pros use specific tools and techniques to get your car looking shiny and new. The main gear in their toolbox? A dual-action polisher—a powerhouse that spins and oscillates the pad, making it safer and less likely to harm your car’s paint. They also rely on different grades of abrasive compounds and polishes that gently buff away imperfections. The trick is to start with the least abrasive solution and only move up as needed, minimizing the risk to your paint. Wet sanding is another technique, but it’s reserved for deeper flaws and always done with a delicate touch to avoid damage. Alongside these, detailers use various pads, each designed for different stages of the process—some for cutting through the damaged top layer, others for polishing to a high shine. Lighting plays a huge part too; high-intensity lamps help spot every tiny imperfection, ensuring nothing is missed. It’s all about the right tool for the right job, and knowing how hard to push without going too far.
How Long Does Paint Correction Take?
Paint correction time varies widely based on your car’s condition, size, and the level of correction needed. For a quick job on a small car with light scratches, it could be a few hours. However, if we’re talking a big SUV coated in swirl marks and deeper scratches, buckle up for a full day or more. The process is meticulous. Each step, from washing and drying to the actual correction and final touches, demands patience and precision. The severity of paint imperfections directly influences the time spent on the job. Light defects might need minimal passes with the polisher, while deeper ones could require several rounds of correction to get that mirror finish. So, in short, it’s all about the size of your ride and how much love the paint needs.
The Importance of Professional Paint Correction
DIY might seem tempting when it comes to fixing paint on your car. But, the truth is, professional paint correction makes a big difference. Think about it. Experts have the right tools, experience, and skills to not just make your car’s paint look good as new but to actually enhance its overall appearance. They tackle everything – from tiny scratches to glaring swirl marks. What’s more, professionals know how to work with different paint types and car models. This means, no matter if your ride is a vintage classic or a modern machine, it gets the care it deserves. Plus, a pro job can actually increase your car’s resale value. So, while it might cost more upfront, professional paint correction pays off by giving you a sleek, shining car that impresses anyone who sees it.
Maintenance After Paint Correction: Keeping Your Car Looking New
After your car gets a paint correction, keeping it looking sharp doesn’t end when you leave the garage. This step is crucial for maintaining that brand-new shine. First, wash your car regularly, but not just any old way. Use a pH-neutral car shampoo and a microfiber towel or mitt. This prevents new scratches and keeps dirt from building up. Second, always dry your car thoroughly to avoid water spots which can dull the paint. Using a microfiber towel for drying helps a lot. Then, wax or seal the paint every few months. This layer acts like a shield against UV rays, bird droppings, and tree sap that could harm the fresh paint. Park smart—under shade or inside a garage. Sunlight and heat can fade paint over time. And finally, deal with any contaminants like bird droppings or tree sap immediately. The longer they sit, the more damage they can do. Following these simple steps ensures your car’s paint correction lasts and keeps your ride looking as good as new.
Conclusion: The Benefits of Paint Correction for Your Car
Paint correction can feel like a magic wand has been waved over your car, but it’s all about careful work and precise techniques. The benefits are clear: your car not only looks better but also gets a protective shield against the elements. A polished car is more resistant to scratches and contaminants, keeping that gleaming look for longer. Moreover, maintaining your car’s appearance could boost its resale value. It’s not just about vanity; it’s an investment in your car’s future. So, when you weigh the cost against these perks, it’s clear that paint correction is worth considering for any car owner wanting to keep their ride looking its best.
If you want to get your car looking brand new, submit our contact form below to get a free quote for your vehicle.