
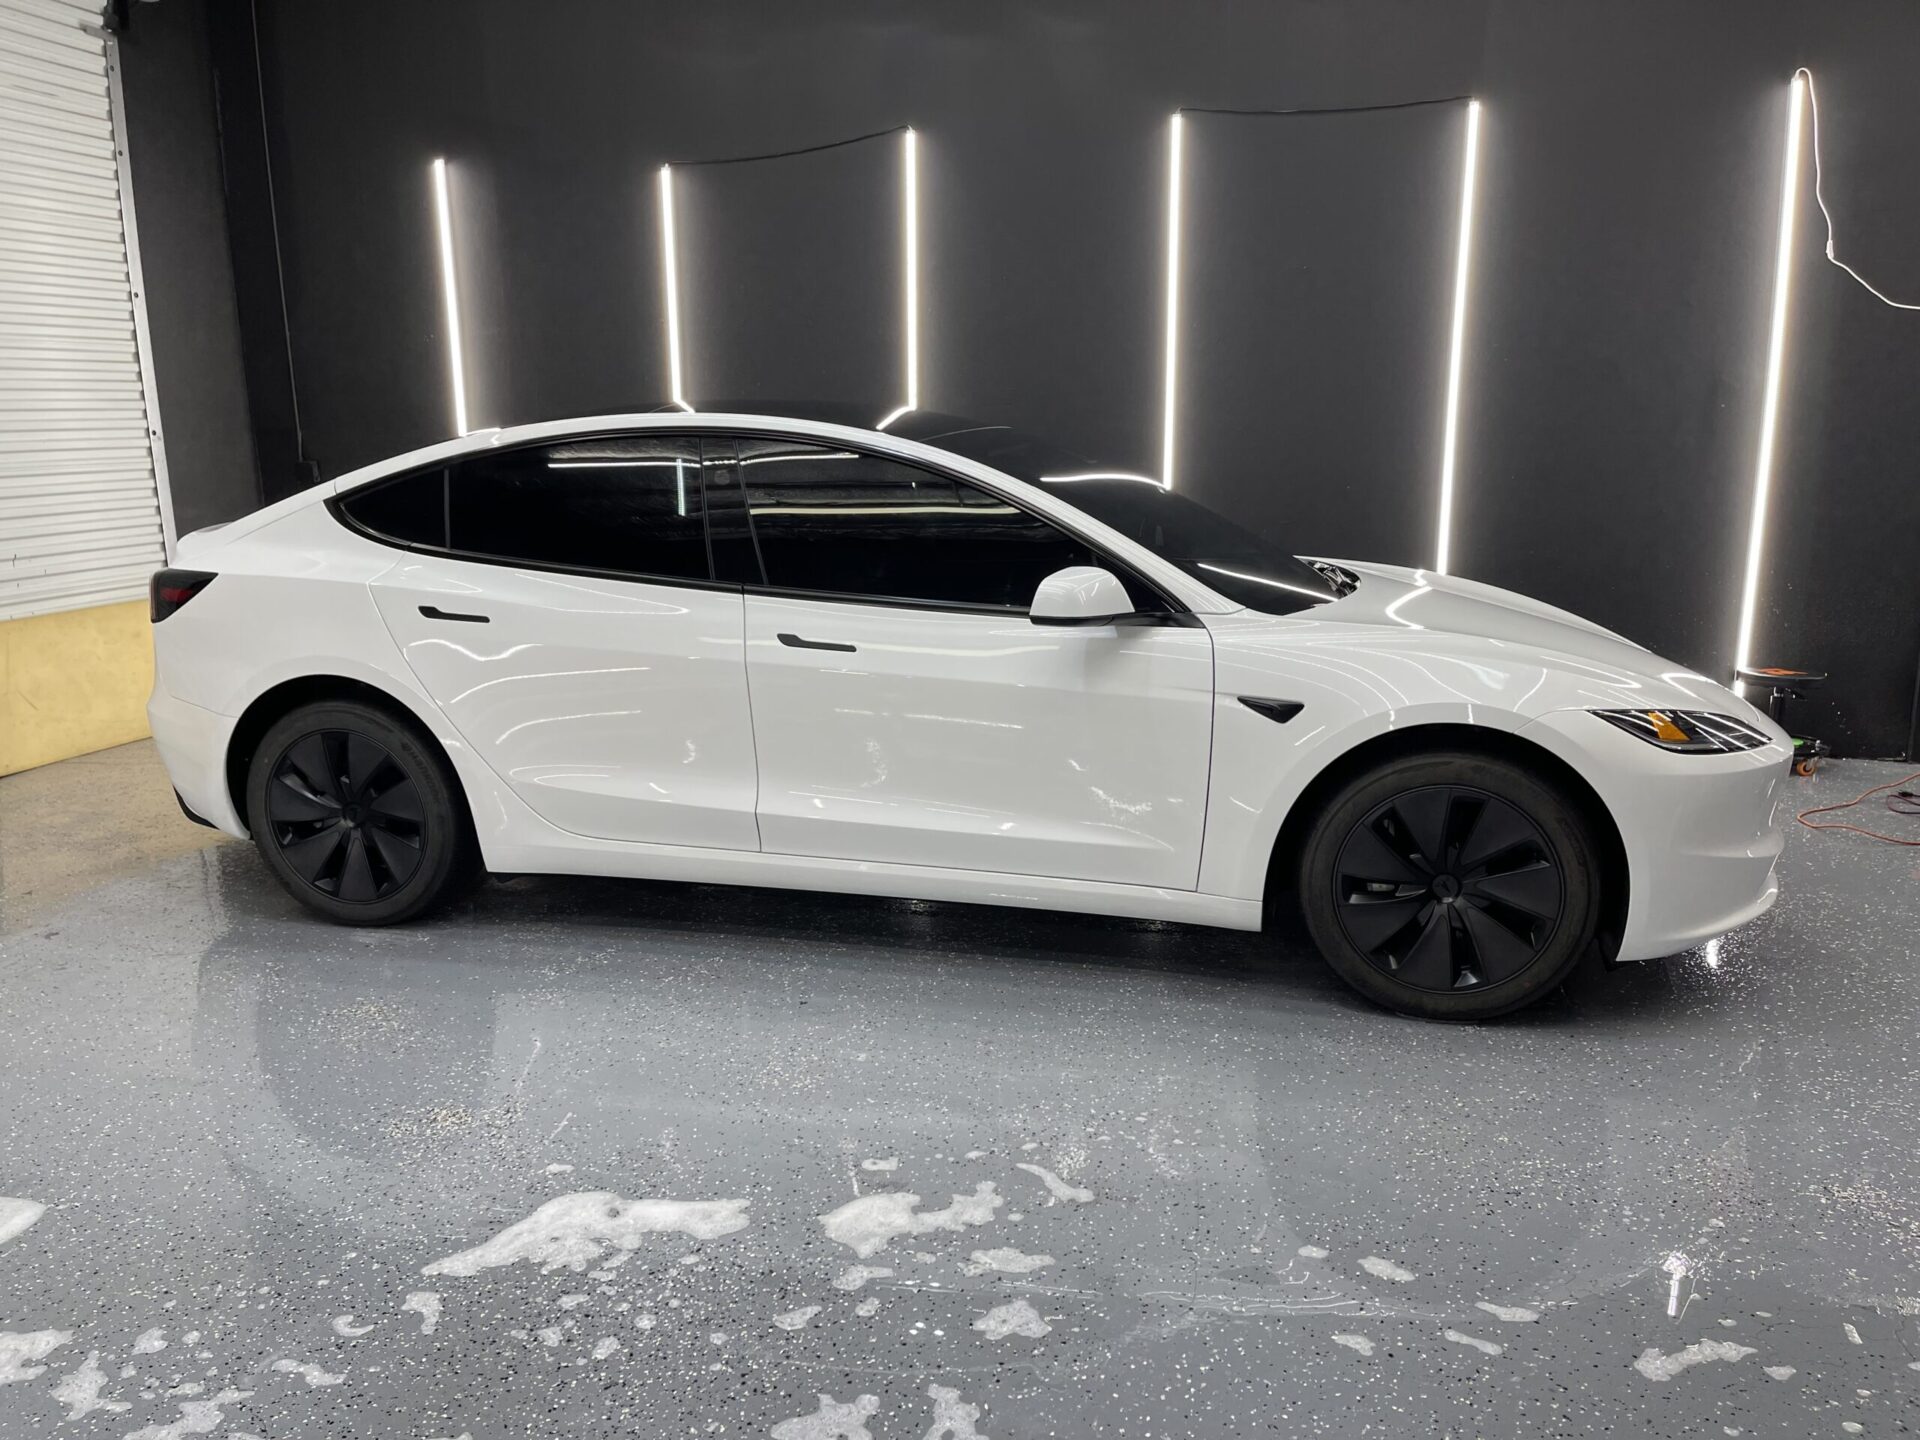

Introduction to Paint Restoration for Your Vehicle
Paint restoration is all about making your car look brand new without the need for a fresh coat of paint from the body shop. Over time, your car’s paint job gets hit with all kinds of wear and tear – from sun damage to scratches from washing, even bird droppings can leave their mark. The good news is, you don’t have to live with these blemishes forever. Paint restoration involves techniques like polishing and waxing to remove these imperfections, bringing back your car’s original shine. It’s not magic, but it’s close, and it’s certainly a lot cheaper than getting a new paint job. Whether you’re preparing to sell your car, entering a car show, or simply want to indulge in its appearance, paint restoration is the way to go. It’s more than just a car wash; it’s about giving your vehicle a second chance to make a first impression.

Understanding Paint Damage: Causes and Effects
Paint damage on your car can happen for several reasons and understanding these can help you protect your vehicle better. The most common causes include exposure to the sun, acidic rain, bird droppings, tree sap, and minor scratches and dents from everyday use. Sunlight, especially, plays a big role in fading paint color and causing it to crack over time, thanks to its harmful UV rays. Acidic rain and bird droppings can etch the surface of the paint, leading to permanent damage if not cleaned promptly. Similarly, tree sap can harden on the surface and become difficult to remove without causing harm. Then, there’s everyday wear and tear from stones and debris on roads, which can chip paint and make your vehicle more susceptible to rust.
The effects of paint damage go beyond just cosmetic. It can lower the resale value of your vehicle and lead to more serious problems like rust and corrosion if the paint damage exposes the metal beneath. This weakens the vehicle’s structure and can become costly to repair. In essence, keeping an eye on paint health is key to maintaining your vehicle’s appearance, integrity, and value over time. Identifying and addressing paint damage early can save you from bigger headaches down the road.
Tools and Materials Needed for Paint Restoration
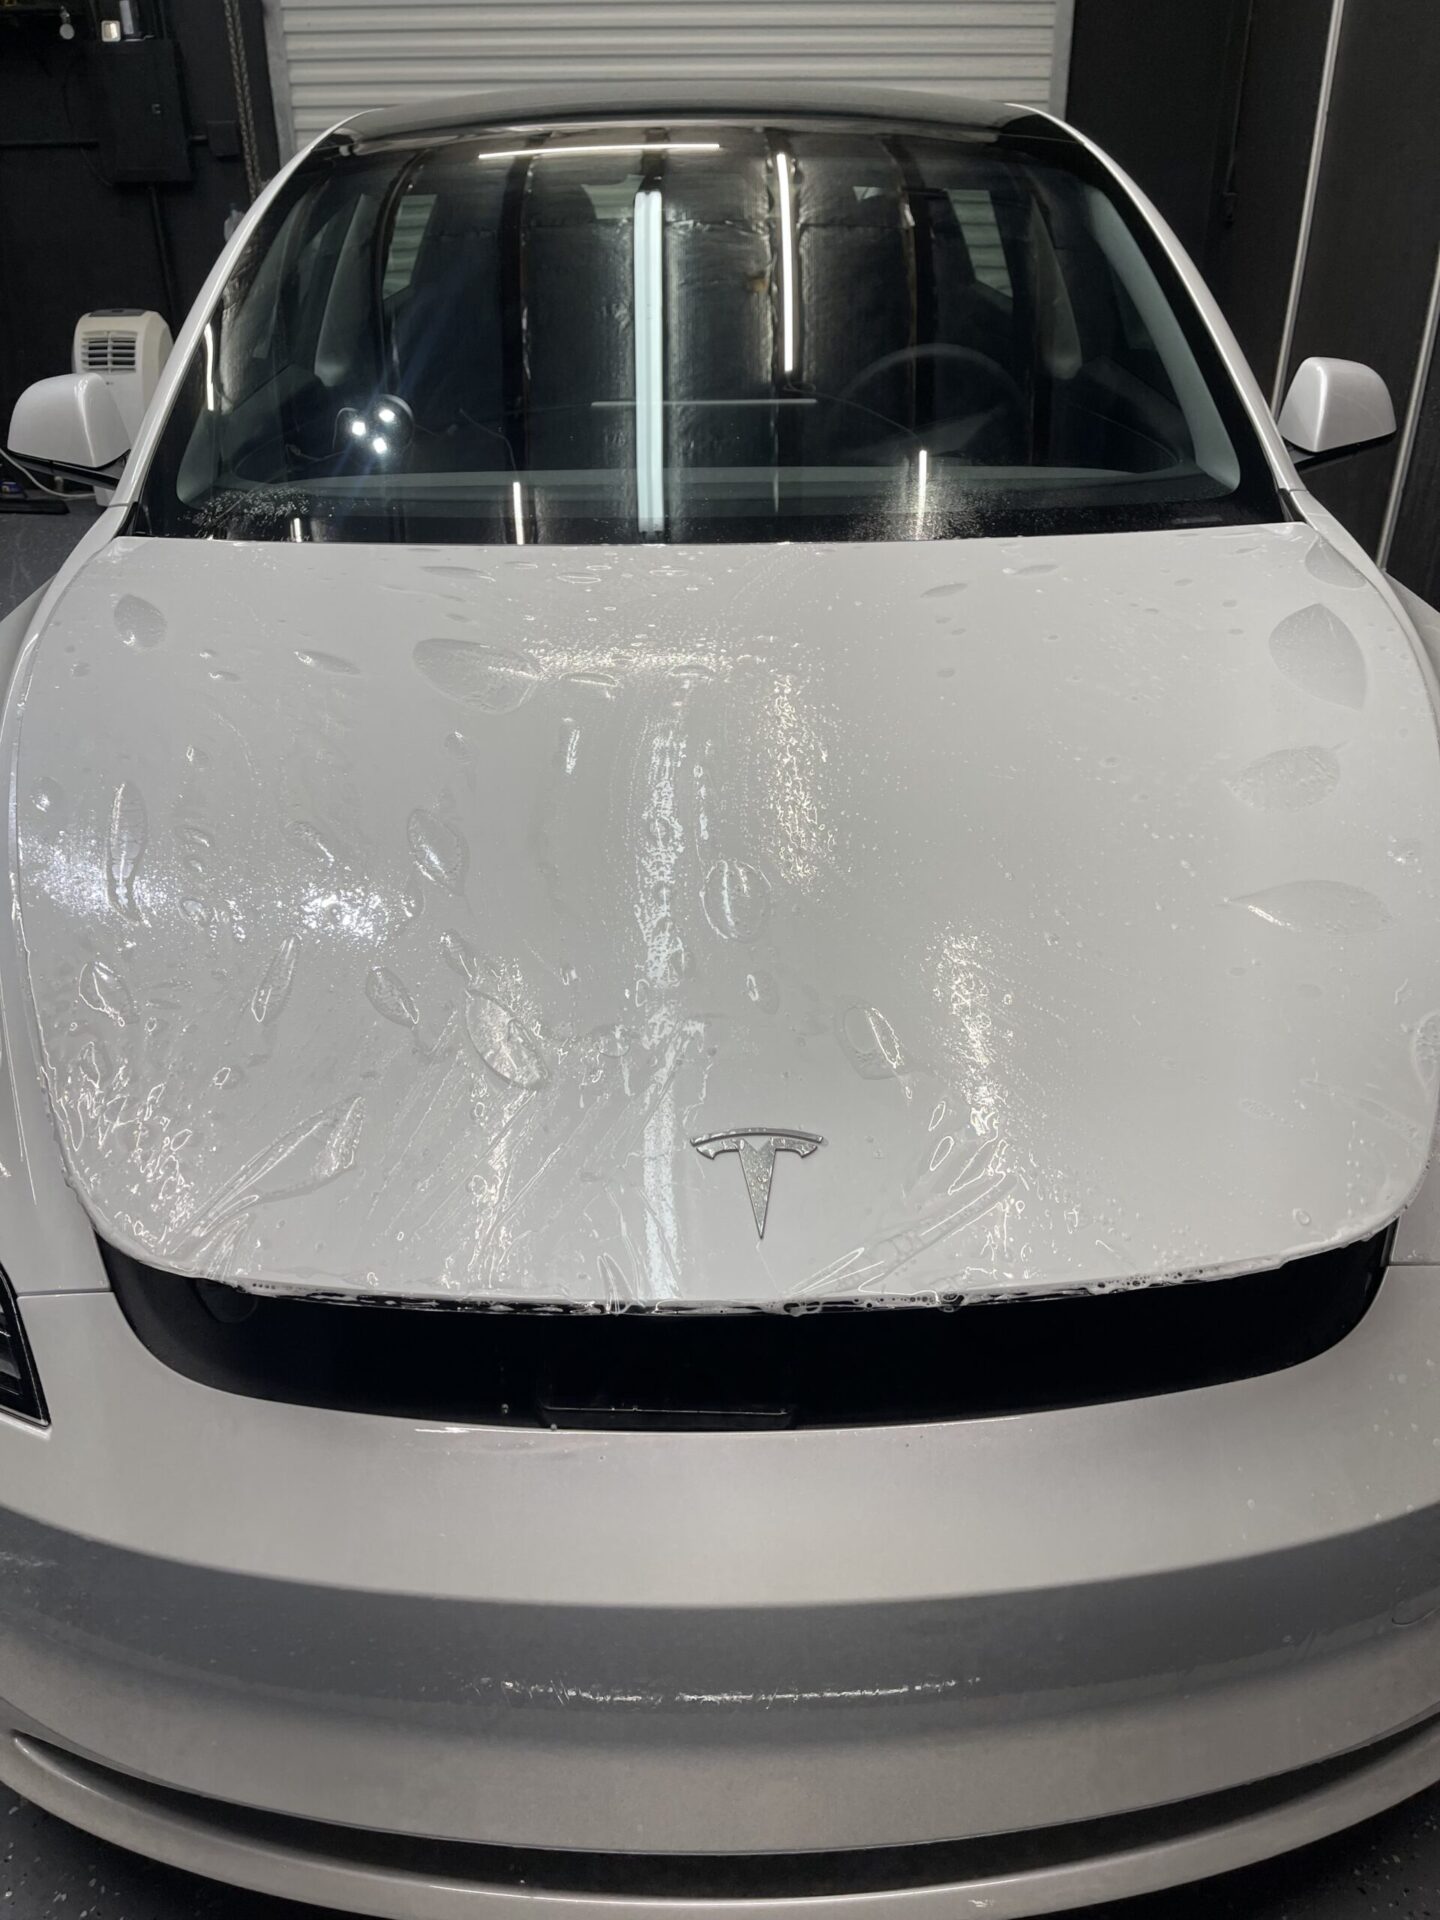
To kick off paint restoration for your vehicle, get your hands on these essentials: a good quality automotive soap, a clay bar kit, and a variety of sandpapers ranging from 600 to 2000 grit. You’ll also need a dual-action polisher, polishing pads, compound, and car wax. Protective gear like gloves and masks are a must for your safety. Don’t forget microfiber towels for a scratch-free finish. Each tool has its role, from cleaning your car with automotive soap to using the clay bar kit for removing contaminants. Sandpapers smooth out imperfections, while the dual-action polisher, along with the right compound, brings back the shine. Lastly, car wax seals everything with protection. Gather these, and you’re equipped to restore your car’s paint to its former glory.
Preparing Your Vehicle for Paint Restoration
Before diving into the world of paint restoration, getting your vehicle ready is a must. This process isn’t just about throwing on a coat of paint; it’s about making sure your car is primed for the best possible result. First off, clean your vehicle thoroughly. Any dirt or grime can interfere with the restoration, so a deep clean is crucial. Next, inspect the surface for any scratches or dents. These imperfections need to be addressed before painting; otherwise, they’ll stand out like a sore thumb afterward.
Now, let’s talk about sanding. Sanding the body of your vehicle is essential to ensure the new paint adheres properly. You don’t need to strip the old paint entirely, but roughening up the surface is key. Once sanded, another round of cleaning is in order to remove any dust or particles.
Lastly, protect the parts of your vehicle that you don’t want painted with tape or covers. Windows, mirrors, and tires, for example, need to be shielded from the spray. This prep work might seem like a hassle, but it sets the foundation for a paint job that will turn heads. By following these steps, you’re not just prepping your vehicle for restoration; you’re ensuring the end result is as stunning as possible.
H2: Step-by-Step Guide to Removing Scratches and Imperfections
First, grab the supplies you need: a good quality scratch remover, a microfiber cloth, and if the scratches are deep, some sandpaper (2000 grit works best). Now, let’s get that paint looking new.
Step 1:
Clean the area around the scratch. Dirt and debris can make scratches worse when you’re trying to fix them.
Step 2:
If the scratch is shallow, apply a small amount of scratch remover to your microfiber cloth and gently work it into the scratch in a circular motion. Keep at it until the scratch starts to fade.
Step 3:
For deeper scratches, you might need to lightly sand the area. Wet the sandpaper and gently sand the scratch. This can be a bit nerve-wracking, but keep your pressure light and even. You’re not trying to sand off your paint, just smoothing out the scratch.
Step 4:
After sanding, wash the area again to remove any dust and debris from the sanding process. Then, apply the scratch remover as you did for shallow scratches.
Step 5:
Once the scratch is gone or significantly reduced, apply a wax to protect the paint and give it a shiny finish.
Remember, patience is key. Removing scratches can be a bit of a process, but with a careful hand and the right approach, you can get rid of those annoying imperfections and bring back the shine to your vehicle’s paint.
Techniques for Applying Primer and Paint
Before you start painting your car, applying primer is a must. Think of primer like the base coat. It ensures the paint sticks well and lasts longer. Let’s break this down, step by step, no fluff. First, clean the surface. Any dirt or rust? Get rid of it. You want a smooth, clean surface for the primer to hug. Next, mix the primer as directed. This isn’t a ‘wing it’ situation. Follow the instructions to the letter. Now, grab your spray gun. Yes, a spray gun. It gives you an even coat. Start applying with steady, back-and-forth motions. No rushing. Let the primer dry. Check the product’s instructions for how long.
Once the primer’s set, it’s paint time. Choose your paint type. Acrylic? Urethane? Your call, but make it wisely. Colors? Think ahead. This isn’t just about looks. It’s about durability too. Get your paint ready. Mix it properly. If you’re not sure, check the instructions again. No harm in double-checking. Use the spray gun again for painting. Same deal as the primer: even, steady motions. Keep it consistent for the best finish. Let it dry. Depending on the paint, this can vary.
Lastly, patience. Both primer and paint need it. Rush this, and you’ll end up redoing it. Not fun. There you have it. Clean, mix, apply, dry, and repeat. Stick to these steps, and your vehicle will not just look new. It’ll feel new.
The Importance of Clear Coat for Lasting Protection
Clear coat might sound like just another layer, but it’s your car’s shield. This protective layer keeps your car’s paint safe from the sun’s harsh rays, scratches, and everyday dirt. Without a clear coat, your vehicle’s vibrant color fades fast, leaving it more vulnerable to rust. It’s like sunscreen for your car’s paint job, blocking harmful UV rays that can cause the color to fade and weaken the surface. When you think about paint restoration, remember, a solid clear coat is key for lasting protection. It’s not just about making your car look good now; it’s about keeping it looking great down the road.
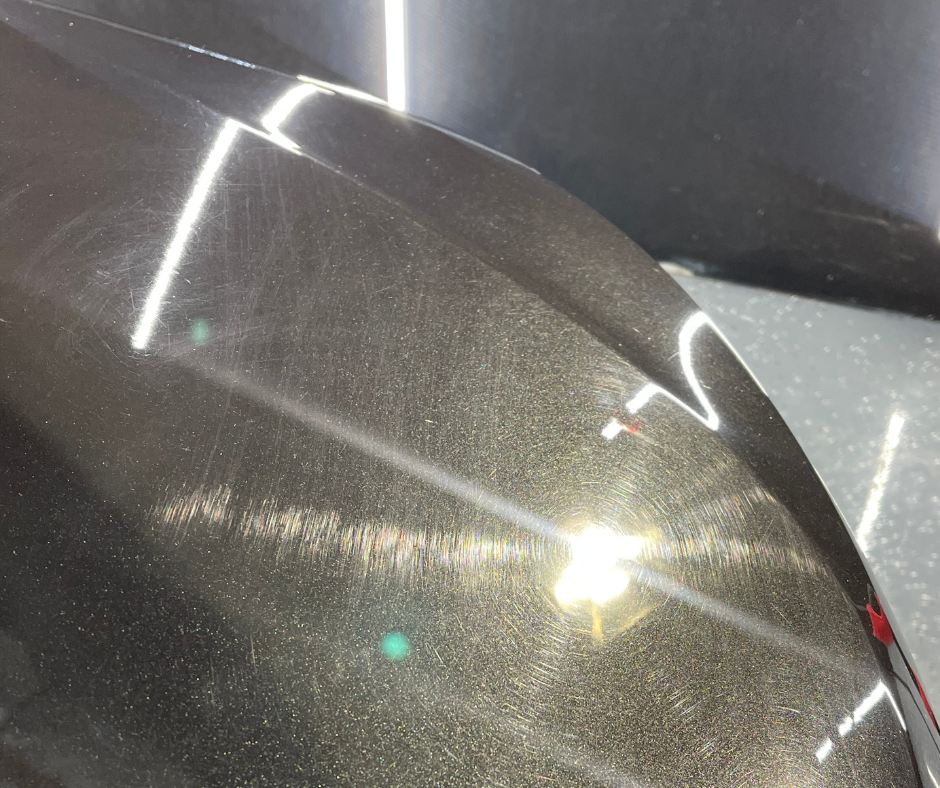
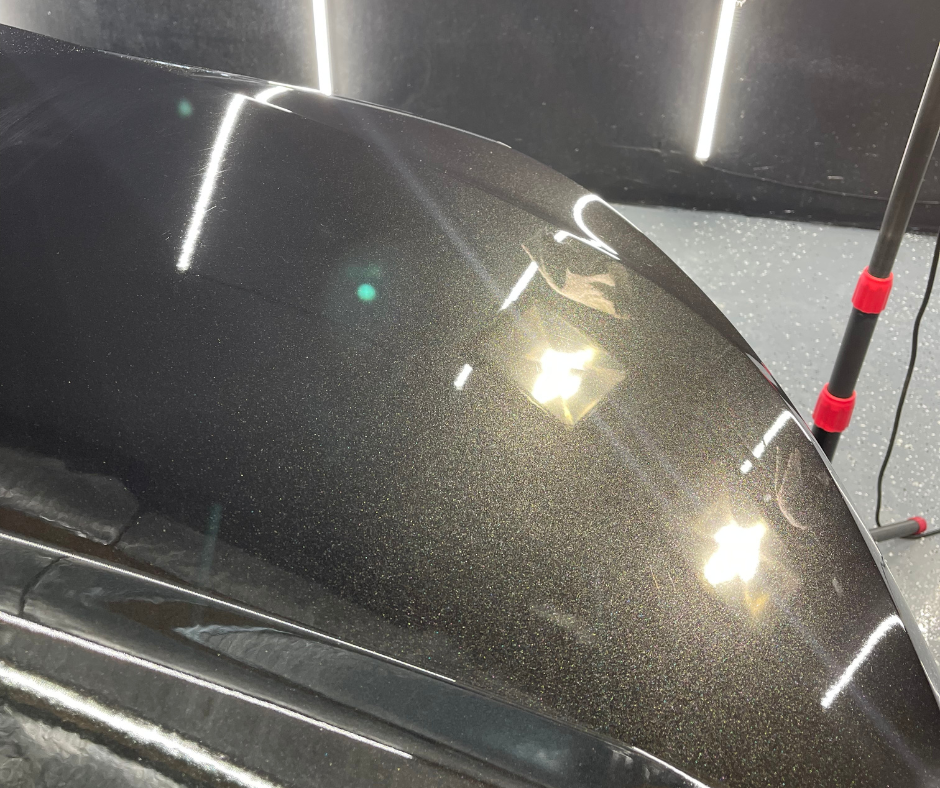
Buffing and Polishing: Achieving a Showroom Shine
Buffing and polishing your car isn’t just about making it look shiny; it’s a critical step in paint restoration that brings back its original glow. Imagine your car’s paint like your skin – it needs care to stay healthy. Buffing gets rid of scratches and marks by removing a thin layer of paint, similar to exfoliating skin. Polishing comes next, smoothing everything out and giving that sought-after shine. Think of it as moisturizing after exfoliating. You don’t need a bunch of fancy tools to start. A good quality polish, a buffing pad, and a bit of elbow grease can do wonders. Yes, doing it by hand is more work, but it’s also rewarding. Plus, it’s less likely to harm your car’s paint if you’re new to this. The secret to success? Go slow, be patient, and work in small sections. Your car didn’t lose its luster overnight, and bringing back that showroom shine will take a bit of time. But trust me, once you’re done, the reflection on your car’s surface will be worth every minute.
Maintaining Your Vehicle’s Paint After Restoration
After getting your vehicle’s paint restored, keeping it looking sharp is key. First up, wash your car regularly. But, don’t just blast it with water and call it a day. Use a car-friendly soap and get into all the nooks and crannies. Next, wax on, wax off. Applying a good quality wax every few months adds a protective layer, keeping that shine for longer. And, watch where you park. Sunlight, bird droppings, and tree sap can all do a number on your paint job. So, whenever possible, park in the shade or under cover. Also, don’t underestimate the power of a touch-up. Got a small scratch or chip? Tend to it quickly with a matching paint pen before it gets worse. Lastly, consider the pros. Sometimes, a professional detailer can spot issues you might miss and give your ride the TLC it needs. Stick to these steps, and your car’s paint will not only look fantastic today but for years to come.
Conclusion: Enjoying Your Vehicle’s Renewed Appearance
So, you’ve made it through the journey of paint restoration. It’s not just about giving your vehicle a facelift; it’s about bringing a piece of you back to life. With all the advice, techniques, and tools we’ve discussed, your car now boasts a shine that probably takes you back to the day you first drove it. Whether you opted for a DIY approach or entrusted your vehicle to professionals, the outcome is something to be proud of. Remember, maintaining this renewed appearance involves regular washing, waxing, and immediate attention to any nicks or scratches. Your vehicle is more than a mode of transportation; it’s a reflection of your dedication. Now, each time you step out, it’s with the confidence that your car looks its best. Enjoy the ride, and let the world see the pride you have in your ride’s appearance.